Choose your VR device
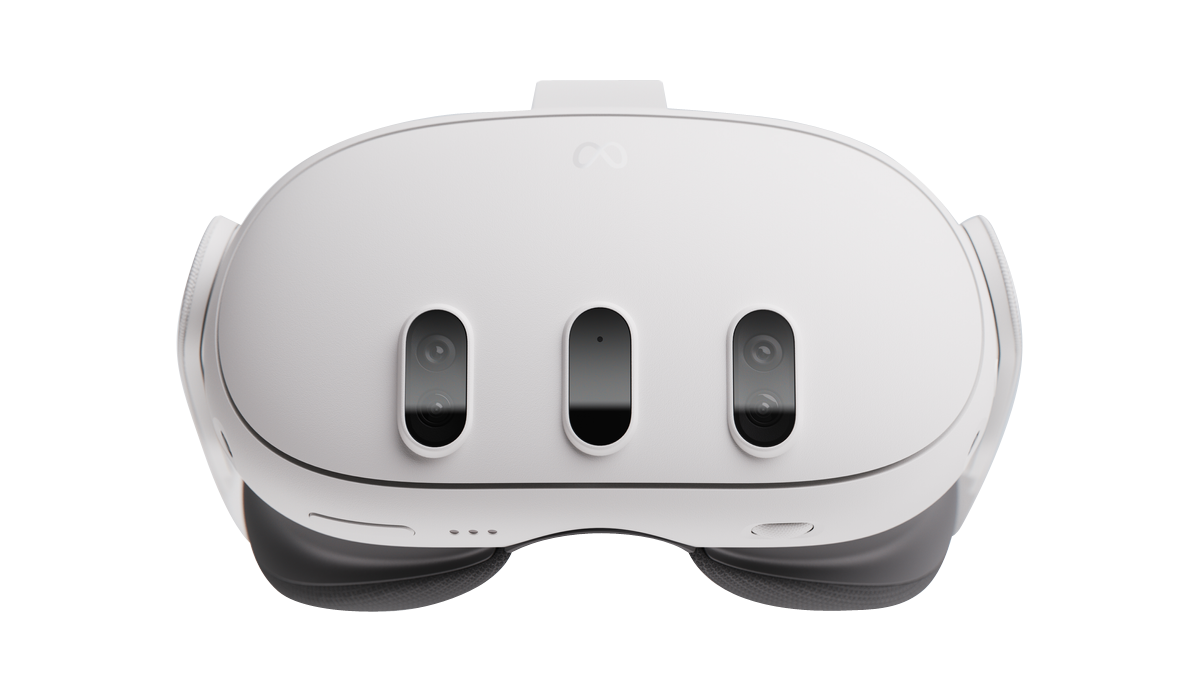
Setup Meta Quest 2 / 3 on your PC
- 1Download and install the Meta Quest Link app here.
- 2
Activate the Quest Link in your VR device by putting them on and going to the settings in the main menu. Select System and Quest Link. Finally, select your computer and start the Quest Link.
- 3
Meta Quest Link must be set as OpenXR-Runtime in the Meta Quest Link app. To do this, open the Meta Quest Link app and select General in the settings. Next to OpenXR-Runtime, click on ‘Set Meta Quest Link as active’.
Note: To use CAD2VR® with Oculus Quest, a connection via link cable to a PC with Windows 10 is required.
In any case, a high-quality USB cable (USB 3‑C to C or USB A to C), such as the official link cable from Oculus, should be used. This can be purchased on the Oculus accessories page. It is also possible to use a cable from a third-party supplier (e.g. Anker), but this is not guaranteed to work correctly. However, indications of functionality can often be found in the provider’s reviews.
Setup Meta Quest 3 Standalone
- 1
Log in to the Quest 3 with your Meta account. If you do not yet have an account, you can create one here.
- 2
After logging in, open the Meta Quest Store on the headset and search for CAD2VR.
- 3
Install CAD2VR® and then start the app.
Transferring session locally to your Meta Quest 3 Standalone
- 1
Import a model with the desktop version of CAD2VR® and save the session locally or optionally in the cloud. The session is saved in your Documents/CAD2VR/Sessions folder.
- 2
Connect your VR headset to the PC using a USB cable.
- 3
Put on your headset and confirm the USB recognised message. Click on this notification to grant the connected device access to the files.
- 4
Open Windows Explorer on your PC and navigate to ‘Quest 3\Internal shared memory\Android\data\com.revis3d.CAD2VR\files’. Create the CAD2VR folder there and the Sessions subfolder. When starting CAD2VR® for the first time the folders are created for you automatically.
- 5
Copy the previously saved session files (.sav) from the Documents/CAD2VR/Sessions folder on your PC to the newly created CAD2VR/Sessions folder on your VR headset.
- 6
Put your headset on and start CAD2VR®. After logging in, you can access the session files in the Local tab or optionally in Cloud tab.
Note: If you want to transfer files locally to the Quest 3, you must be the owner of the device and carry out the following steps with the owner’s account. To transfer files locally to the headset, CAD2VR® must have been started at least once.
If you have booked cloud storage, you can save the session in the cloud and download it later in the standalone version on your VR headset. You can skip steps 2 – 5 for transferring the session to the headset.
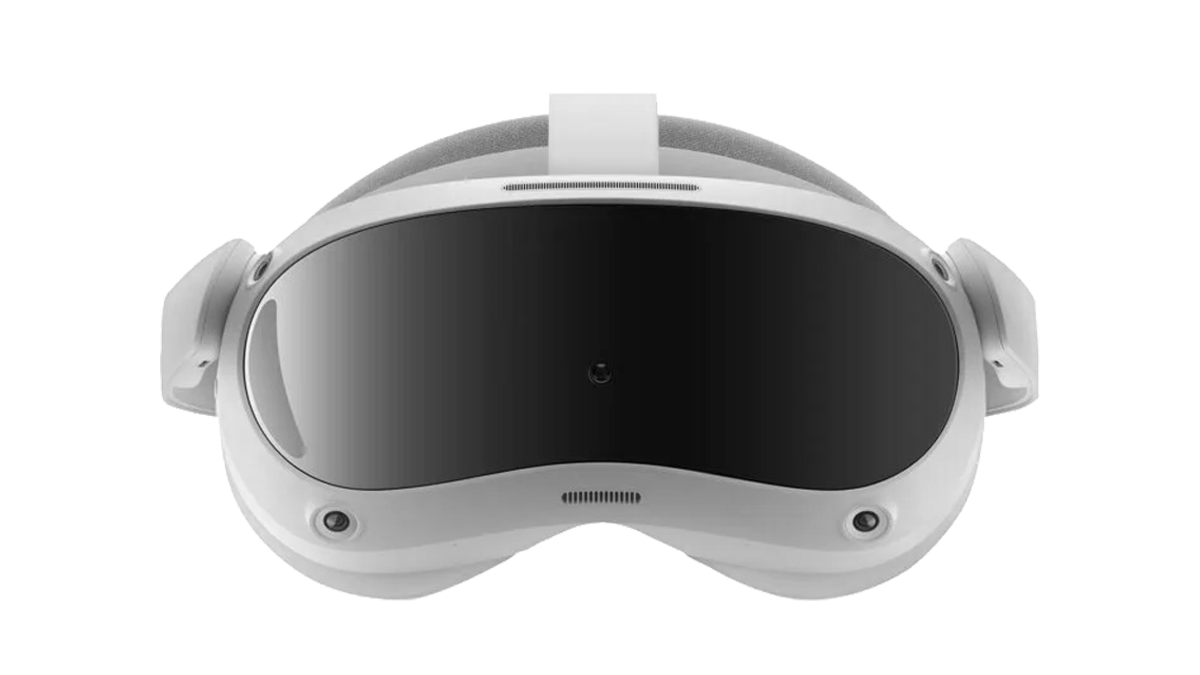
Setup Pico 4 on your PC
- 1Download and install PICO Connect here.
- 2
Make sure that SteamVR has been started and is in ‘Ready’ mode. The controllers must be switched on.
- 3
In SteamVR under Settings, open the OpenXR menu item. Check whether the current OpenXR runtime is set to SteamVR. If not, click on ‘Set STeamVR as OpenXR runtime’.
Note: The connection with PICO Connect can be made via USB cable or WiFi. For the use of CAD2VR® with PICO 4, the connection via USB cable is recommended. For the controllers to function correctly, the controller mode must be set to ‘Standard’ in the settings.
If CAD2VR® does not load when you have connected the PICO to SteamVR as described, check in the task manager whether the OVR service launcher, OVRserver_x64 and OVR Redir processes are running and terminate them.
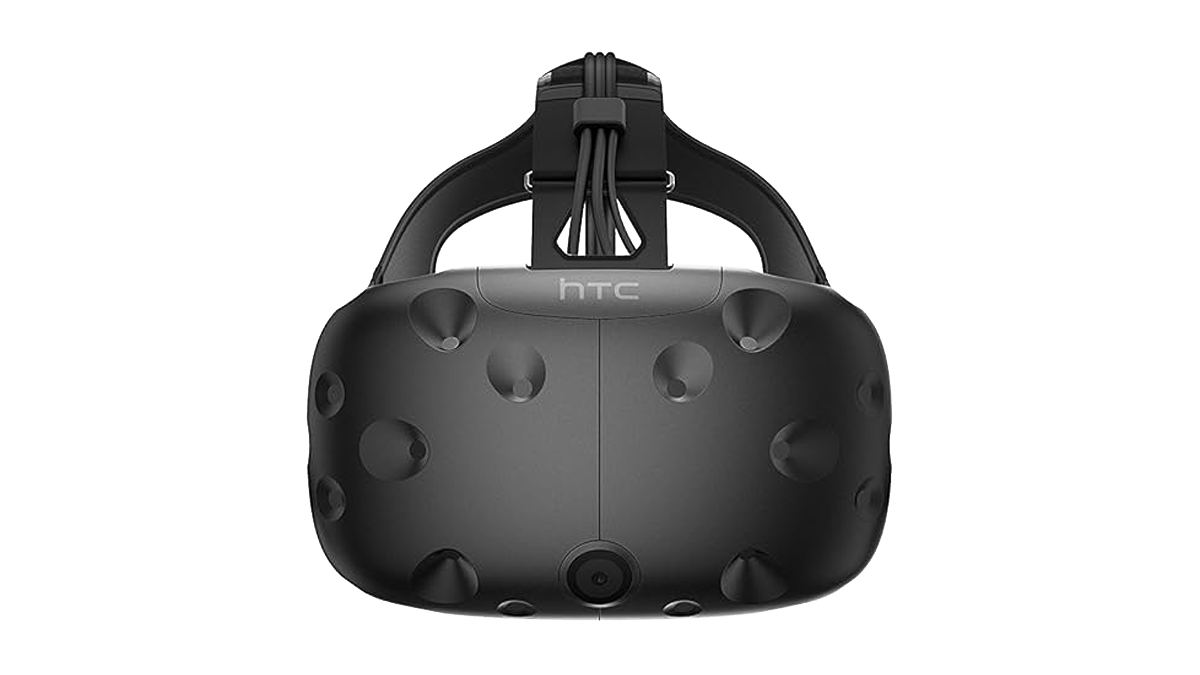
Setup HTC VIVE or Valve Index on your PC
- 1Download the setup instructions here.
- 2
Make sure that SteamVR has been started and is in ‘Ready’ mode. The controllers must be switched on.
- 3
In SteamVR under Settings, open the OpenXR menu item. Check whether the current OpenXR runtime is set to SteamVR. If not, click on ‘Set STeamVR as OpenXR runtime’.
Note: If CAD2VR® does not load when you have connected the VIVE to SteamVR as described, check in the task manager whether the OVR service launcher, OVRserver_x64 and OVR Redir processes are running and terminate them.
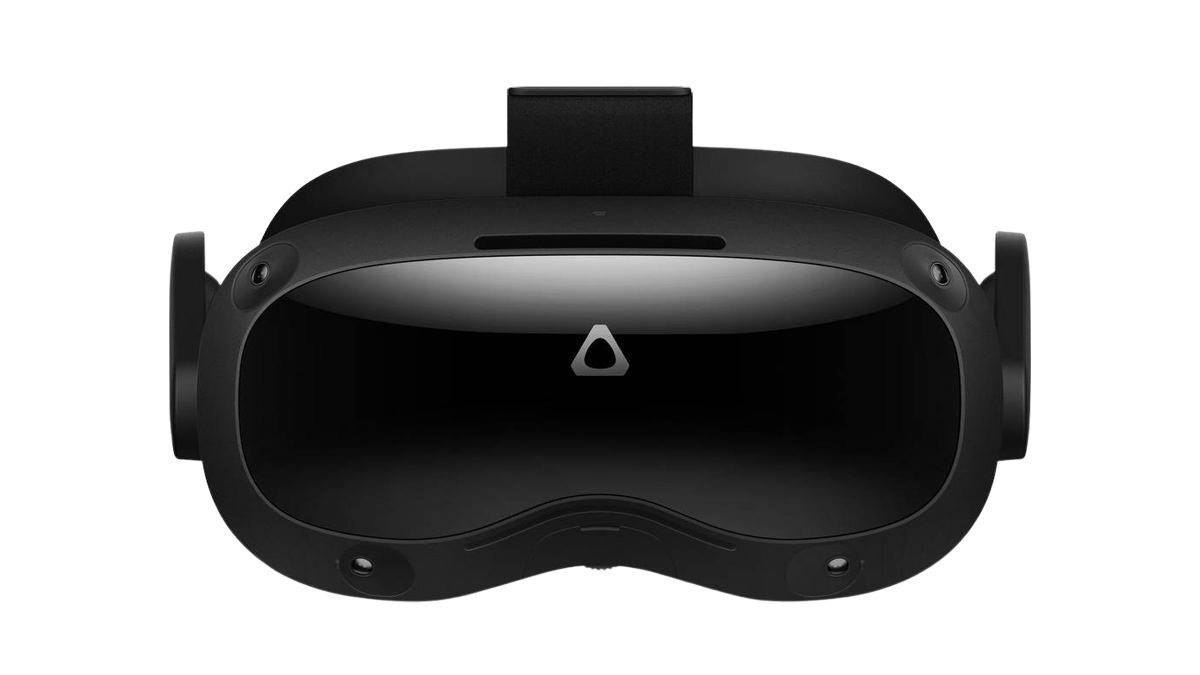
Setup HTC Focus 3 on your PC
- 1Download the setup instructions here.
- 2
Make sure that SteamVR has been started and is in ‘Ready’ mode. The controllers must be switched on.
- 3
Open the OpenXR menu item under Settings in SteamVR. Check whether the current OpenXR runtime is set to SteamVR. If not, click on ‘Set STeamVR as OpenXR runtime’.
Note: If CAD2VR® does not load when you have connected the Focus 3 to SteamVR as described, check in the task manager whether the OVR service launcher, OVRserver_x64 and OVR Redir processes are running and terminate them.
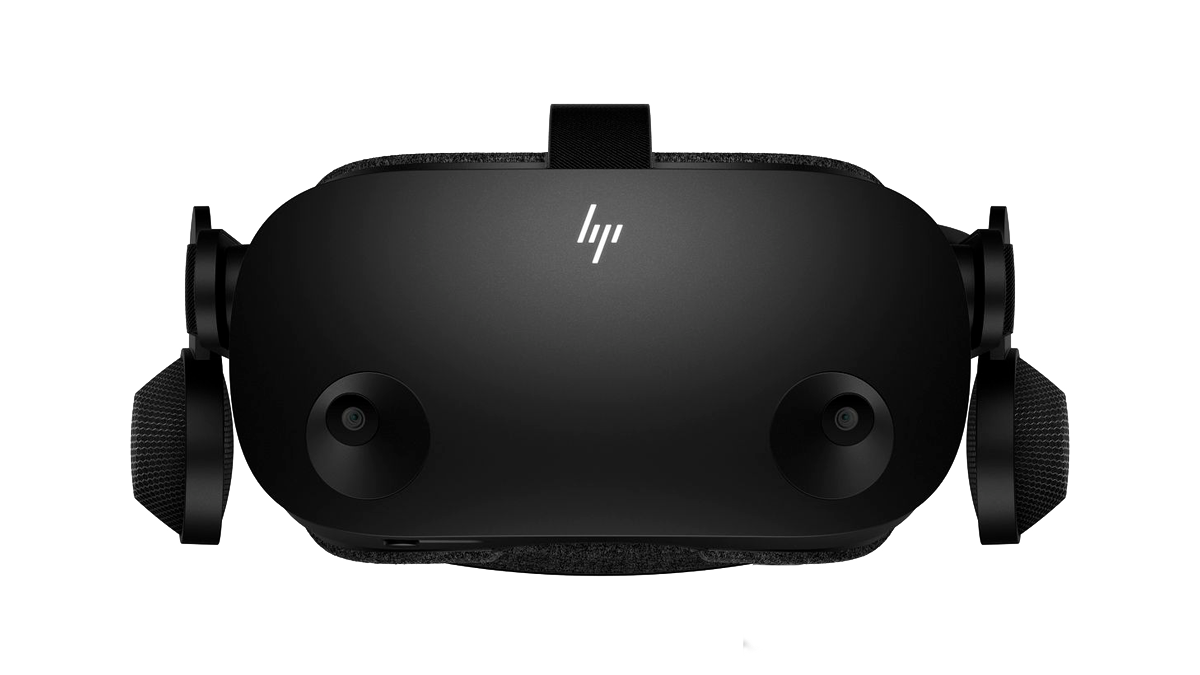
Setup HP Reverb 2 on your PC
- 1
The setup application installs automatically after connecting the headset.
- 2
Make sure that SteamVR has been started and is in ‘Ready’ mode. The controllers must be switched on. Windows Mixed Reality for SteamVR must also be installed.
- 3
In the Mixed Reality Portal, check whether a message appears when starting the portal that Windows Mixed Reality is not set up to run OpenXR applications. If this is the case, click on the Repair button to set Windows Mixed Reality as OpenXR Runtime.
Note: Depending on the Windows Mixed Reality headset, the system requirements may differ from those listed above. You can find these from the respective manufacturer.


